
Our very own Kitchen Refresh
Come check out our kitchen refresh and we prioritized high impact decisions to create a timeless, inviting look!
Over the past three months, we’ve been slowly updating our builder-grade kitchen, and it’s been such a fun and rewarding process—one I’ve been so excited to finally share! Our goal was to create a warmer, more custom look without doing a full renovation. We really wanted to work with the existing layout and structure, using the bones of the space while still giving it a fresh, updated feel. I was dreaming of that “new kitchen” vibe, just without the mess (and cost) of a full gut job—and with a little creativity, we were able to make it happen!
The Before

Looking back at our old kitchen, we knew we wanted to move away from the stark white finishes and bold navy tones. While it worked for a while, it didn’t really feel like us, and I wanted something that would feel more timeless—something I wouldn’t get tired of in just a few years. More than anything, I wanted the space to feel warm, organic, and a better reflection of our family’s style and everyday life. Since we didn’t have much say in the original design when we bought our home, I had mentally bookmarked a lot of changes I knew I wanted to make—and this kitchen update gave us the perfect opportunity to bring that vision to life.
The During


One of the first changes we made in the kitchen was updating the pendant lights. We swapped out the original fixtures for these beautiful pendants from Visual Comfort. From there, we turned our attention to the island. It was previously a dark navy blue, and while we loved it for a while, we were ready for something that felt a bit more timeless and neutral. We decided to wrap the base in wood to give it more texture and warmth, then stained it in Dark Walnut by Minwax. The rich, natural tone brought in just the right amount of contrast and helped soften the overall feel of the kitchen.
Another priority for the kitchen renovation was our plan to extend the cabinets all the way to the ceiling. Not only would this maximize storage—perfect for keeping less-used items out of the way—but it draws the eye upward, making the entire space feel taller and more open.


With our plans to take the cabinets all the way to the ceiling, I knew we’d need to rethink our range hood to make sure everything felt cohesive. We decided to go with a simpler, more timeless design that would blend beautifully with the updated cabinetry without feeling too trendy. I spent a lot of time browsing different options to find just the right shape and finish for the space. We also wanted to add in new hardware for the cabinets. This is such an easy way to elevate the overall feel and bring in a little warmth and shine—those small details really made a big difference in pulling everything together.


I wanted these stark white cabinets to be painted something a little warmer!
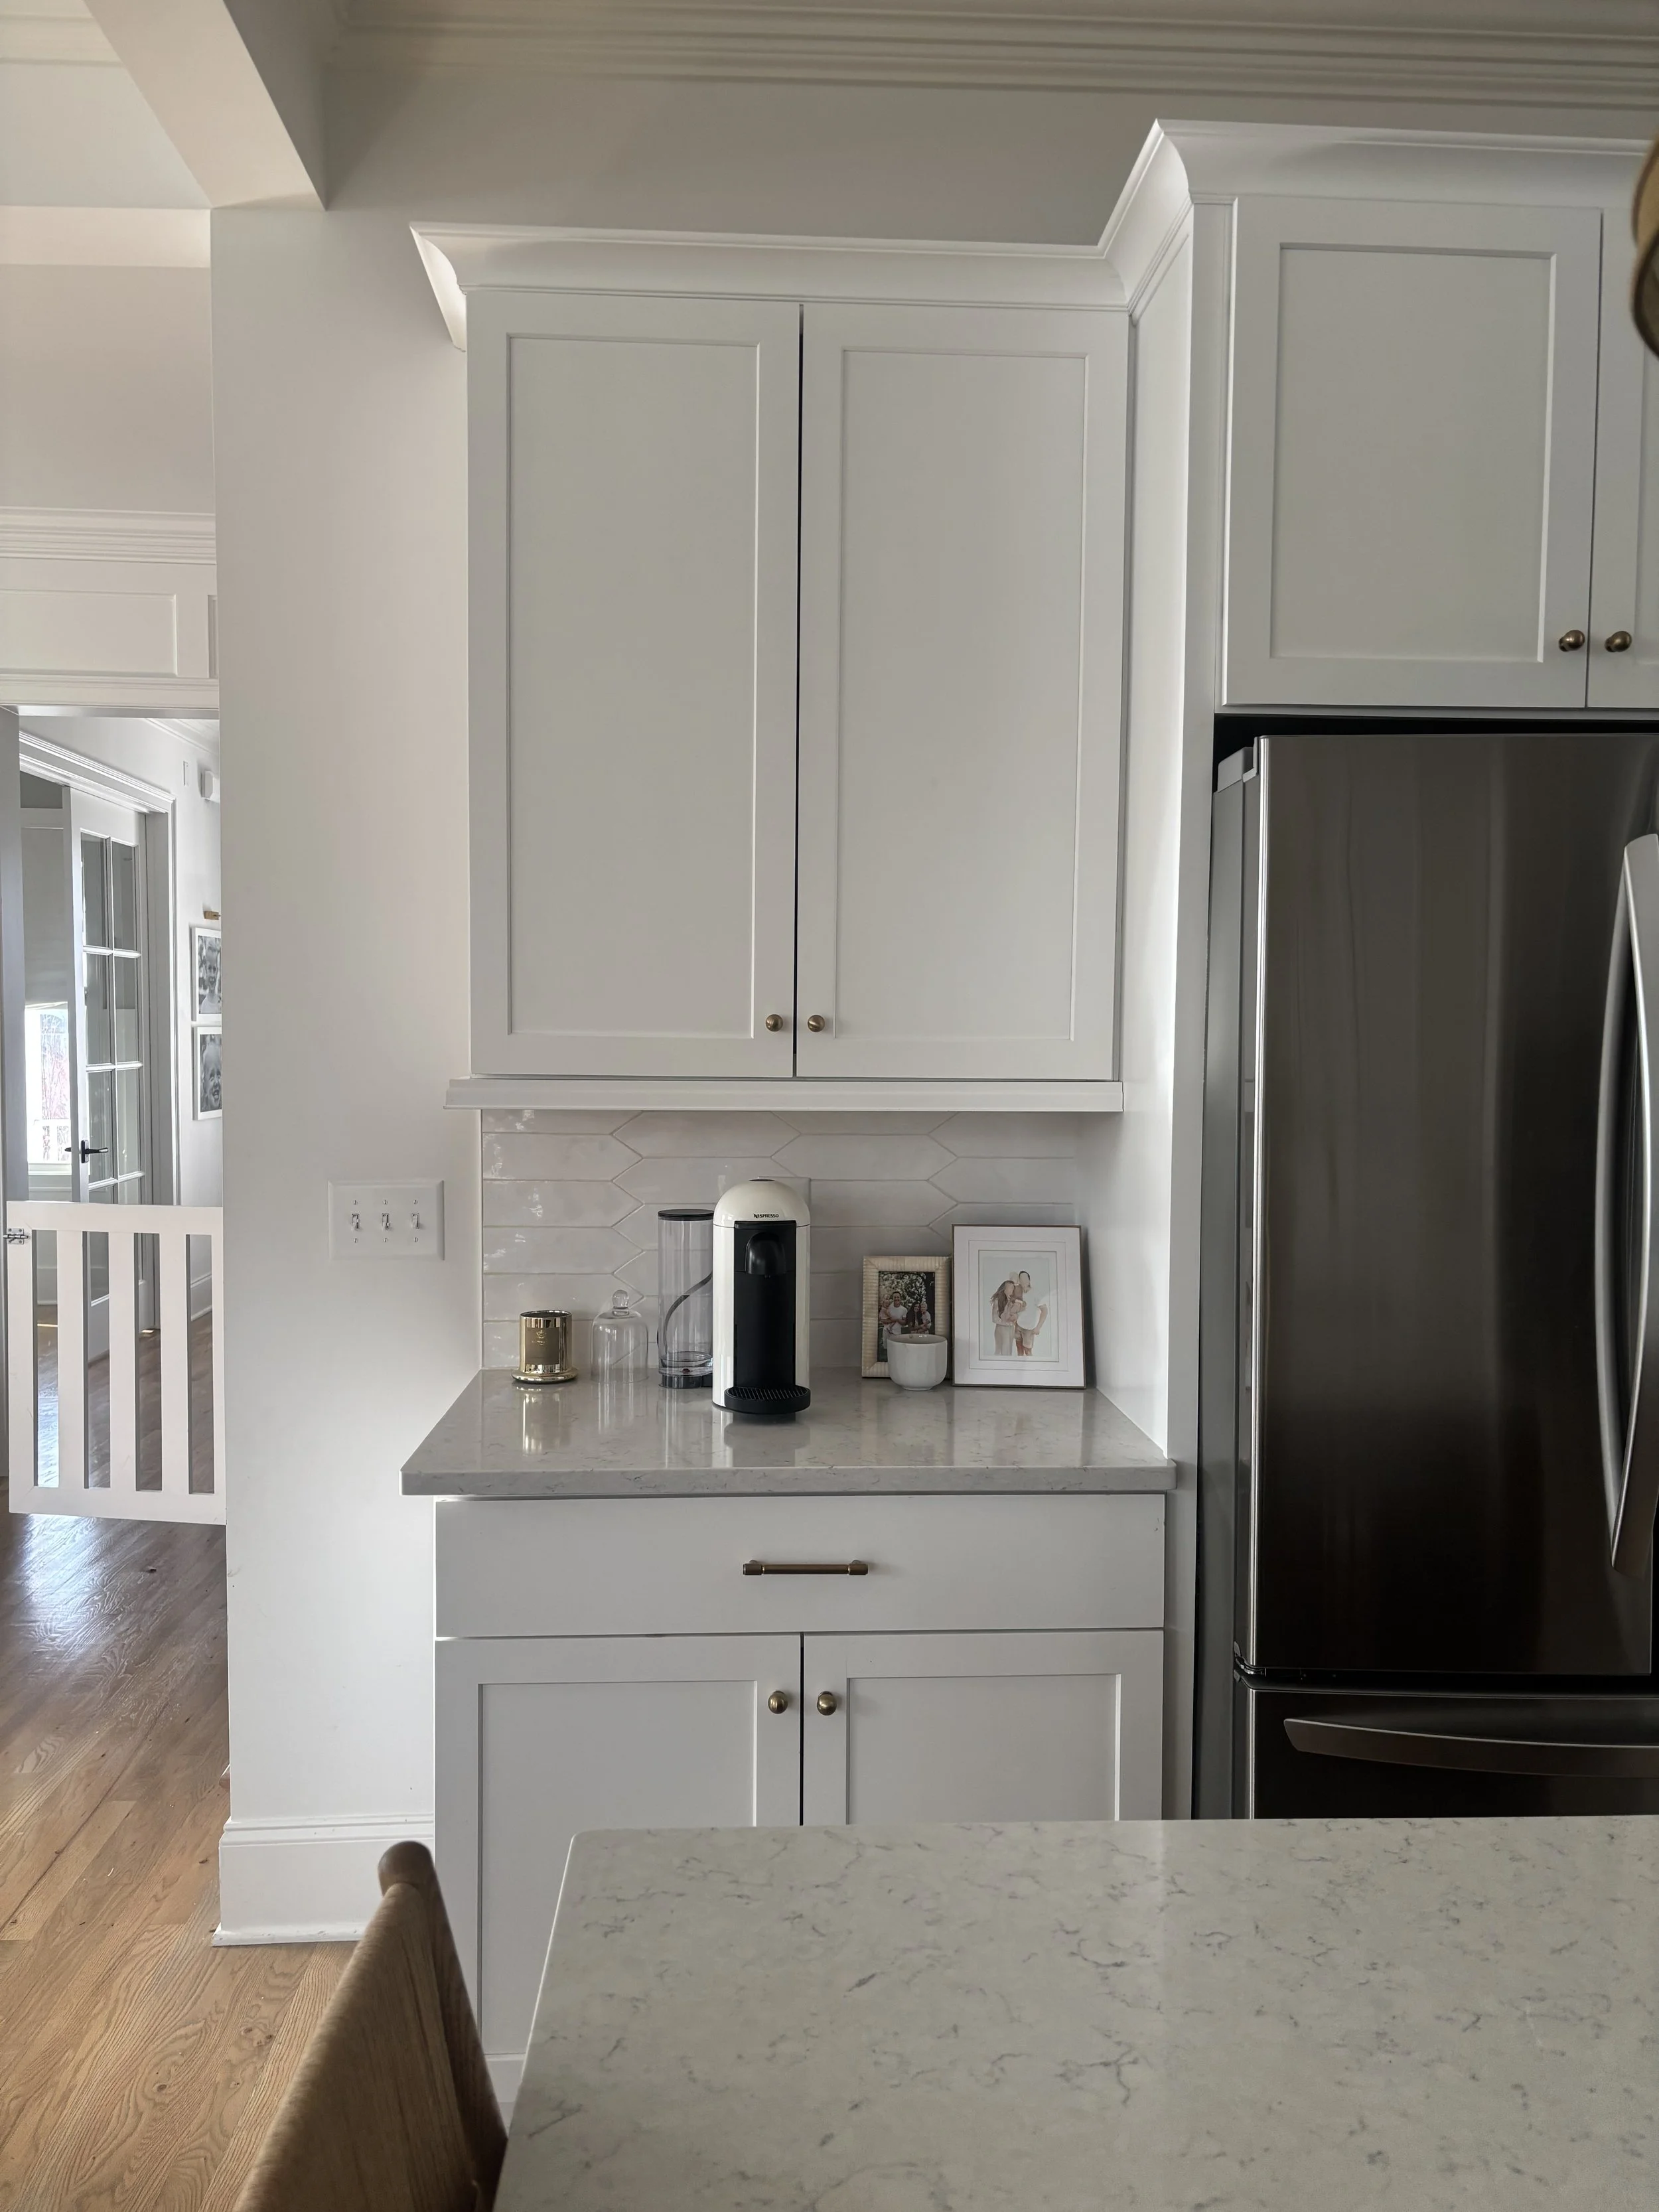
We’re big coffee lovers in this house, so I’ve always imagined turning this little corner into a dedicated coffee hutch. I wanted it to be the perfect spot to keep all our coffee essentials— mugs, glassware, and more—neatly organized and easy to reach.
Where we are now…

We swapped out the old navy island, wrapped it in wood and went with a rich, darker stain that adds so much warmth and texture to the space. We also used this stain for our coffee hutch too! I love how they compliment eachother.
To bring some of warmth and softness to the room, we painted the cabinets in Sherwin Williams’ Accessible Beige. It is one of my favorite, versatile neutrals that adds just the right touch of coziness without overwhelming the space.

We updated some of the existing cabinetry by staining it to match our kitchen island and swapping the original doors for ones with glass fronts. That simple change made such an impact— it’s become one of my favorite little corners in the kitchen!
We upgraded our hardware to pieces from Rejuvenation. It was definitely more of an investment, but totally worth it—the quality is amazing, and we know it’ll hold up for years to come.

Our kitchen sources!

My kitchen styling pieces!
This kitchen update brought such a fresh and inviting feel to our home—without needing to do a full renovation. We were able to work with the existing layout and make a few key changes that completely transformed the space. It feels more personal, more functional, and so much more like us. We’re truly so happy with how everything turned out, and even more grateful that we were able to achieve this look without having to tear the entire kitchen apart! I’ve included links throughout this post in case you’re curious about any of the sources, and you can also find more behind-the-scenes details and product links over on our Instagram!
Our final phase is going to be to add stone backsplash and purchase a panel-ready fridge! We plan to do this using Horizon Stone: Sedona to carry our fireplace surround into our kitchen and painting the panel ready fridge Accessible Beige to match our new cabinets.

this is our inspiration that we’ve been swooning over!
We will use the same stone in our living room!

The final thing we will be doing (for now)
will be purchasing a panel ready fridge!
Any suggestions on panel ready fridge? I haven’t started doing too much research yet!
Don’t forget to check out our design guide where we share tips and tricks on how you can bring designer end touches to every corner of your home! CLICK HERE TO SHOP OUR DESIGN GUIDE
Thanks for reading!
Amber